 Save
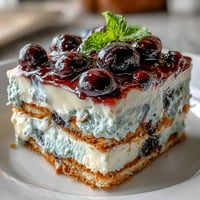
Save A burst of colors in the kitchen always energizes me, especially when a dessert transforms from simple to spirited before your eyes. When I first made this Memorial Day Red White Blue Poke Cake, music was playing and the sounds of summer drifted in through an open window—suddenly, the cake seemed to carry the season on its back. There's something quietly satisfying about poking holes into a fresh cake and pouring striped gelatin down into the crumbs, never knowing exactly how it will marble. The anticipation as it chills in the fridge is met only by the fun of decorating with sprinkles and berries, hands lightly dusted in sugar. By the time it sets, it's nearly impossible to resist sneaking a spoonful from the corner.
I once brought this cake to a backyard gathering and watched as my friend's five-year-old nephew squinted at each slice, fascinated by the jagged patterns of red and blue. We ended up comparing the shapes to fireworks, and the conversation lingered longer than dessert itself. There’s a certain joy in seeing people gather around something you made—not just for the flavor, but for the spectacle.
Ingredients
- White cake mix (1 box, 15.25 oz): A shortcut that delivers soft, snow-white layers perfect for soaking up every bit of color—beating the batter until just smooth ensures tenderness.
- Water (1 cup): Blends easily into the mix; using room temperature water gives you a smoother batter.
- Vegetable oil (1/2 cup): Adds moistness without competing flavors—don’t swap for olive oil unless you want a savory surprise.
- Large eggs (3): Key to structure and richness; let them come to room temp for the fluffiest cake.
- Strawberry or cherry-flavored gelatin (1 box, 3 oz): The iconic red swirl; be generous when pouring to really make the color shine.
- Berry blue gelatin (1 box, 3 oz): Striking blue veins that keep the holiday theme bold—work fast before it sets.
- Boiling water (2 cups, divided): Fully dissolve each gelatin so you don’t get grainy bits later.
- Cold water (2 cups, divided): Helps cool the gelatin before pouring; don’t skip or you risk melting the cake.
- Frozen whipped topping (1 tub, 8 oz, thawed): Lush and spreadable for a cloud-like finish, especially when fully thawed but still cool.
- Red, white, and blue sprinkles or nonpareils (2 tablespoons): The finishing touch—press them lightly so they stick to the whipped topping.
- Fresh strawberries and blueberries (optional, for garnish): Bright bites of summer, best added right before serving for freshness.
Tired of Takeout? 🥡
Get 10 meals you can make faster than delivery arrives. Seriously.
One email. No spam. Unsubscribe anytime.
Instructions
- Get the oven cozy:
- Preheat your oven to 350°F (175°C), then swipe your 9x13-inch baking dish with oil or cooking spray—listen for that slight sizzle as the pan warms up.
- Mix and bake:
- In a big bowl, beat the cake mix, water, oil, and eggs just until smooth; pour the batter in, tip the dish to level, and bake for 28–32 minutes until the kitchen starts to smell sweet and a toothpick emerges clean.
- Poke and pause:
- Once the cake cools for 15 minutes, grab the handle of a wooden spoon and poke holes all over (about every inch)—the best part if you ask any kids nearby.
- Make your gelatin magic:
- Dissolve each gelatin flavor in 1 cup boiling water, stirring for clarity, then add 1/2 cup cold water to each and let them cool for a moment so they don’t steam when poured.
- Let the colors flow:
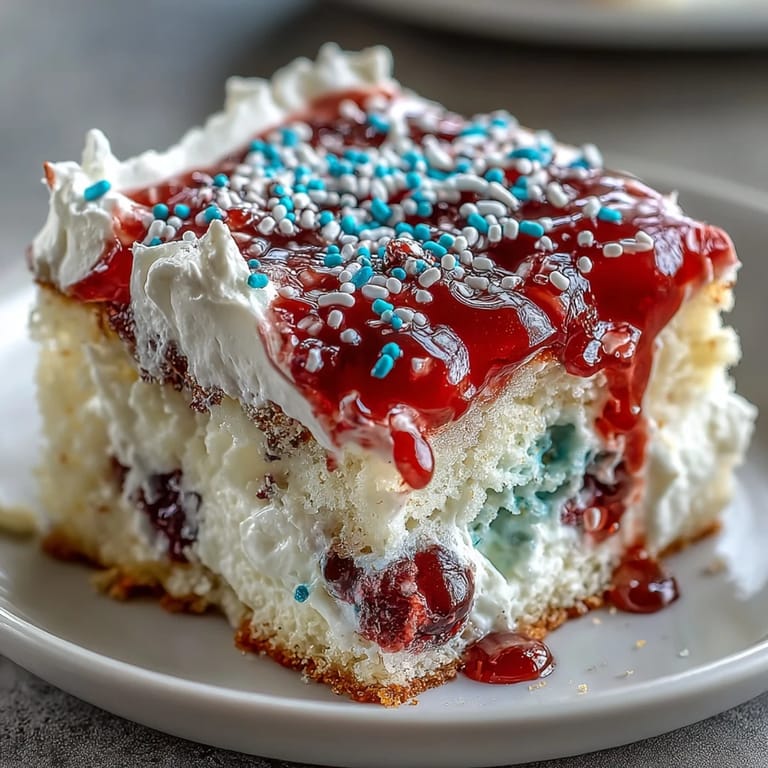
- Drizzle the red gelatin over one half of the poked holes and blue over the other, watching trails of color disappear into the cake; refrigerate for at least 2 hours so the magic sets.
- Frost and finish:
- Spread the thawed whipped topping in swirling clouds, dust with sprinkles, and tuck berries on top for a fresh pop of color, if you like.
- Slice and celebrate:
- Cut into squares—admire your vibrant handiwork—then serve chilled with a side of laughter and maybe a little extra whipped cream.
 Save
Save The first time my nephew bit into this cake, he grinned through blue lips and a whipped cream moustache—at that moment, the whole table erupted in laughter and even the shyest guest reached for a second helping. It’s these small, slightly messy joys that bake themselves right into my memory along with the recipe.
Getting a Perfect Swirl Every Time
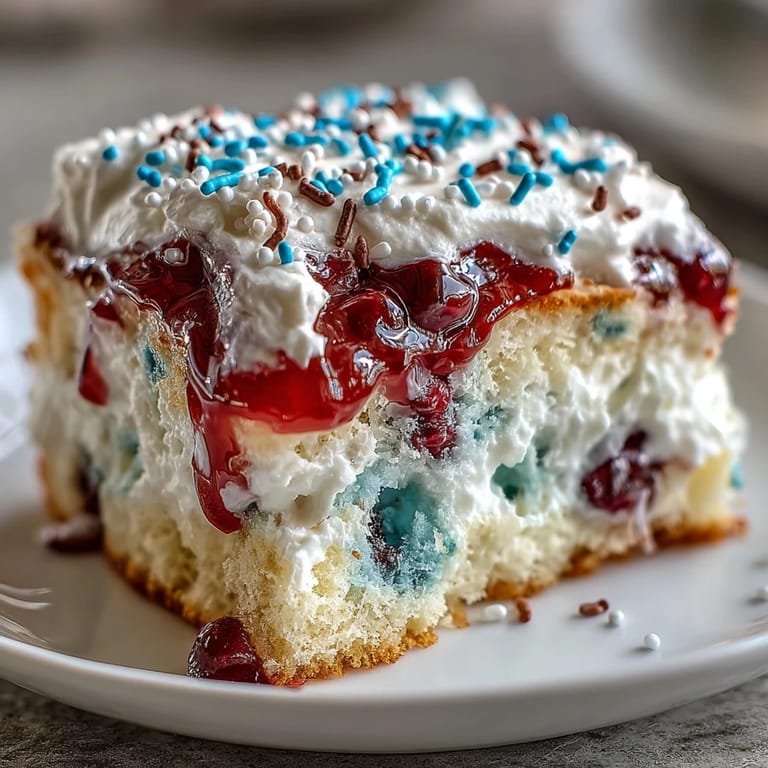
The trickiest part is aiming the gelatin so it seeps into the right spots—using a small pitcher or measuring cup with a spout gives better control and helps create sharper stripes deep inside the cake rather than a marbled muddle.
Keeping It Easy for Busy Gatherings
This cake barely asks for attention: you can assemble it a night ahead and it will only get more flavorful as the gelatin sets and melds with the crumb—no rush, no stress, just grab from the fridge and enjoy.
How to Make It Even More Festive
Try swapping out the red and blue gelatin flavors for any hue that fits your celebration, or swap in lemon cake mix for a citrusy spin—the real joy is watching guests light up when they spot the colors inside their slice.
- Wait until right before serving to add sprinkles for max crunch.
- Let whipped topping thaw gently in the fridge for the smoothest finish.
- Handle with care if you add extra berries—they bleed color quickly.
 Save
Save Cake shaped by hands and shared on summer days always tastes a little sweeter—this one is guaranteed to be remembered longer than the fireworks. I hope it brings colorful smiles to your own table.
Recipe FAQs
- → How long should I chill the cake before adding topping?
Chill the cake for at least 2 hours so the gelatin fully sets and the colors hold in place; overnight chilling firms the texture and makes slicing cleaner.
- → Can I use fresh fruit instead of gelatin for color?
Fresh pureed strawberries and blueberries can add color and flavor, but they won’t set like gelatin. For visible pockets of color, use reduced fruit juices or stabilized gels so they sink into the holes.
- → What’s the best way to make even holes?
Use the handle of a wooden spoon to create holes about an inch apart across the warm cake. Press straight down and twist slightly for a clean cavity that holds liquid gelatin without breaking the crumb.
- → How should I store leftovers?
Keep slices covered and refrigerated for up to 3 days. Cover the pan tightly with plastic wrap or transfer to an airtight container to prevent the whipped topping from drying out and to protect flavors.
- → Can I prepare this ahead of time?
Yes. Bake and pour the gelatin up to a day ahead, then chill. Add the whipped topping and sprinkles just before serving for the freshest appearance.
- → Any tips to prevent sprinkles from bleeding color?
Use nonpareils or high-quality coated sprinkles and apply them just before serving. If decorating in advance, choose sugar-based sprinkles that resist color transfer.