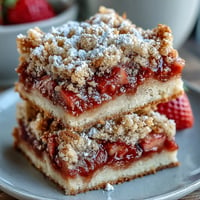
 Save
Save My neighbor knocked on my door with that sheepish smile that only happens when you're moving into a new house and realize you have no desserts to offer unexpected guests. I handed her these mini cheesecakes from my freezer, and twenty minutes later she texted asking for the recipe with three excited emojis. They're small enough to feel fancy, simple enough that you won't stress, and somehow they make people think you spent all day in the kitchen when really, you just needed something that looked impressive and tasted even better.
I first made these for a housewarming party where I drastically underestimated how many people would show up, and somehow having a full platter of these little things made me look far more prepared than I actually was. The host told me later that everyone went straight for them, and I realized then that sometimes the smallest desserts make the biggest impression because they're not intimidating, they're just delicious.
Ingredients
- Graham cracker crumbs: The foundation that keeps these from being straight-up cheesecake soup, and using about 100 grams ensures you get enough texture without overpowering the creamy filling.
- Granulated sugar: You'll use it twice, once for the crust and again in the filling, which creates that subtle sweetness that doesn't feel heavy.
- Unsalted butter: Melted butter bonds everything together in the crust, giving it that satisfying crunch that contrasts beautifully with creamy filling.
- Cream cheese: Room-temperature cream cheese is non-negotiable here, because cold cream cheese creates lumps that no amount of beating will fix.
- Eggs: These bind the filling and help it set without making it dense, so don't skip them or substitute them lightly.
- Sour cream: This is the secret ingredient that keeps the filling from tasting too rich and adds a subtle tanginess that makes people keep reaching for another.
- Vanilla extract: One teaspoon is the right amount to enhance without making it taste like a vanilla candle.
- All-purpose flour: Just a tablespoon thickens the filling slightly so it doesn't crack on top when it cools.
Tired of Takeout? 🥡
Get 10 meals you can make faster than delivery arrives. Seriously.
One email. No spam. Unsubscribe anytime.
Instructions
- Prepare your workspace:
- Preheat your oven to 325°F and line a 24-cup mini muffin tin with paper liners so they don't stick. This temperature is lower than you might expect, which is exactly what keeps the filling from cracking and turning into a pancake.
- Build the crust:
- Mix graham cracker crumbs with sugar and melted butter until it looks like wet sand, then press about a heaping teaspoon into each liner with the back of a small spoon. You want it compact but not rock-hard, so you can still bite through it without needing a jackhammer.
- Create a smooth filling:
- Beat softened cream cheese until it's completely smooth with no lumps, then add sugar and mix until creamy and light. This takes longer than you think, but it matters because lumpy cream cheese ruins the silky texture you're after.
- Add the wet ingredients:
- Add eggs one at a time, beating briefly after each one, then fold in sour cream, vanilla, flour, and salt until just combined. Don't overmix at this stage or you'll incorporate too much air, which causes cracking.
- Fill and bake:
- Spoon the filling over the crusts, filling each cup almost to the top, then slide the tin into the oven for 18 to 20 minutes. The centers should still jiggle slightly when you gently shake the pan, which means they'll continue cooking as they cool and won't dry out.
- Cool with patience:
- Let them cool in the pan for 15 minutes so the structure sets, then transfer to a wire rack to cool completely. This gradual cooling prevents the thermal shock that causes cracks.
- Chill and finish:
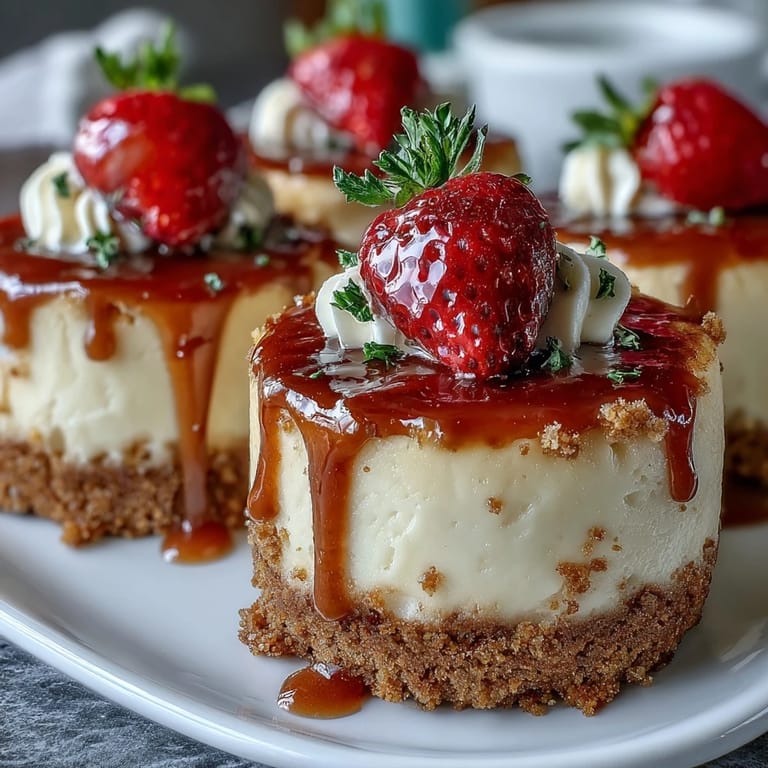
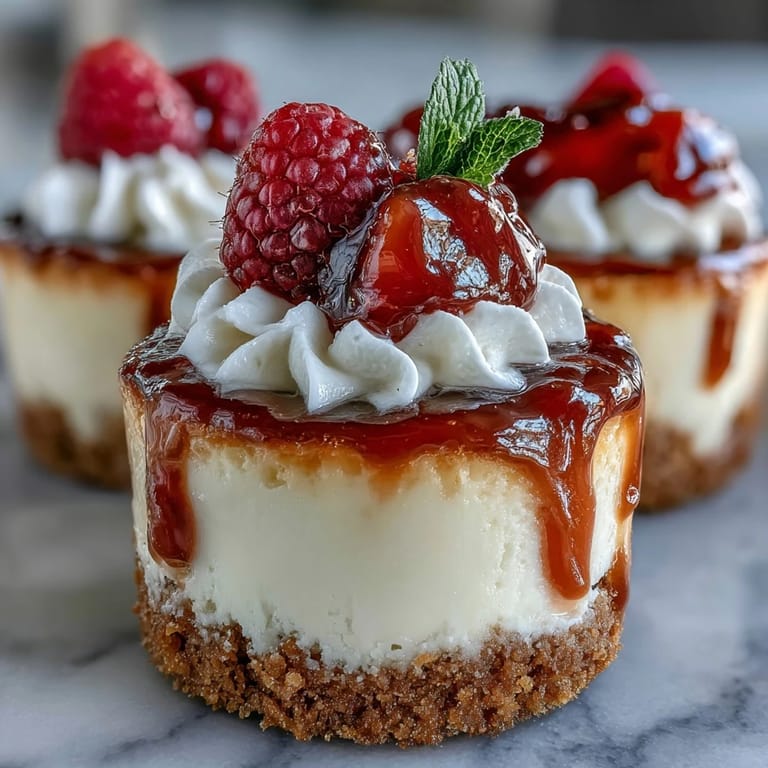
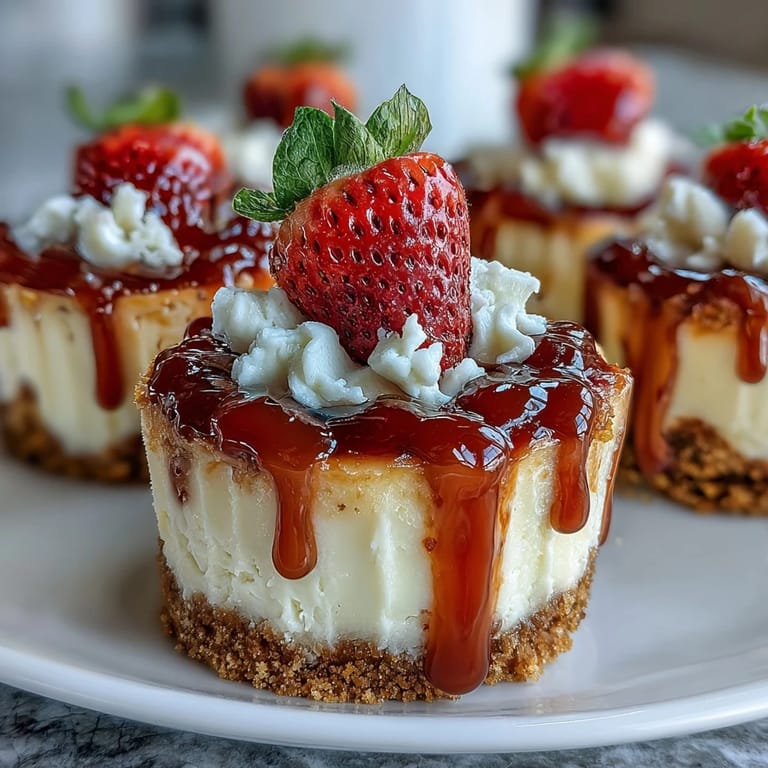
- Refrigerate for at least an hour so the filling becomes completely set and the flavors meld together. Top with fresh berries, fruit preserves, whipped cream, or chocolate shavings just before serving, which keeps everything looking fresh and prevents soggy crusts.
 Save
Save There's something magical about watching someone's face when they bite into one of these, expecting it to be difficult or overly sweet, and instead discovering this perfect balance of creamy and crisp. That moment when dessert surprises you in the best way is exactly why I keep making these.
The Toppings Make the Dessert
I used to serve these plain and felt like something was missing, but then I started experimenting with toppings and realized that fresh berries add brightness, fruit preserves add elegance, and whipped cream adds the kind of indulgence that makes them feel restaurant-quality. The toppings go on just before serving, which means you can prep them hours ahead and finish them in minutes.
Storage and Make-Ahead Magic
These keep beautifully in the refrigerator for up to two days, which means you can make them the morning of a party or even the night before, removing one less thing from your stress list. You can also freeze them for up to a month without toppings, letting them thaw in the fridge for a few hours before serving.
Customizations That Feel Personal
The beauty of these is that they're a blank canvas for your creativity, so don't feel locked into the basic recipe. Add lemon zest for brightness, a touch of almond extract for depth, or even a swirl of pumpkin puree if the season calls for it.
- For a gluten-free version, use gluten-free graham crackers and all-purpose gluten-free flour, which work perfectly with no other changes needed.
- Make them a day ahead and keep them refrigerated, then add fresh toppings just before serving for the crispest crust.
- If you don't have a mini muffin tin, use a standard muffin tin and adjust the baking time to 22 to 25 minutes, checking for that slight jiggle in the centers.
 Save
Save These mini cheesecakes have become my go-to for any occasion that needs a little sweetness and a lot of sophistication. Make them once and you'll understand why they disappear so fast.
Recipe FAQs
- → What type of crust is used for these mini cheesecakes?
A crisp graham cracker crust made from crushed graham crackers, sugar, and melted butter forms the base.
- → Can these treats be made gluten-free?
Yes, by substituting gluten-free graham crackers and flour, the mini cheesecakes can be gluten-free.
- → How long should they chill before serving?
Chill the cheesecakes in the refrigerator for at least one hour to allow them to firm up.
- → What toppings complement these bite-sized desserts?
Fresh berries, fruit preserves, whipped cream, or chocolate shavings enhance flavor and presentation.
- → Is it possible to prepare these ahead of time?
Yes, they can be prepared a day in advance and stored chilled until ready to serve.