 Save
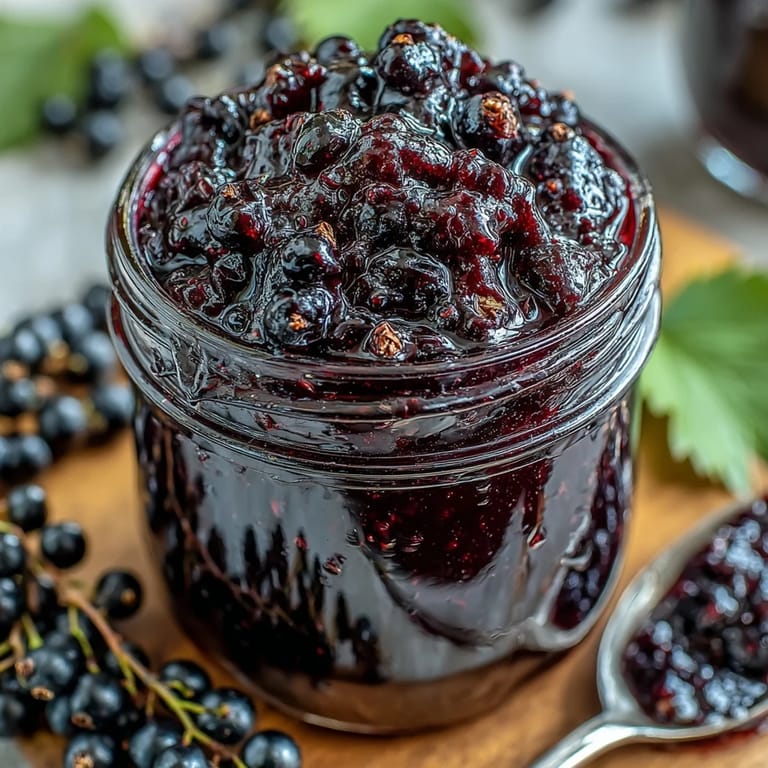
Save The kitchen filled with this incredible deep purple perfume as I stood over the stove, watching those tiny black gems bubble and transform. My daughter kept wandering in and out, drawn by the scent, asking if it was ready yet. Something about making jam feels like capturing summer in a jar, especially with blackcurrants that have such an intense, almost wine-like flavor. We spent the entire morning picking them at my uncle's farm, fingers stained dark as midnight.
Last summer, my neighbor Sarah came over with a basket of blackcurrants from her garden, not knowing what to do with them. We made this jam together on her back porch while our kids ran through the sprinkler. She texted me three days later saying she'd already given away half the jars and was guardedly hoarding the rest. There's something about homemade jam that makes people feel loved.
Ingredients
- Fresh blackcurrants: These tiny powerhouses pack an incredible punch of tartness and natural pectin, which means your jam will set beautifully without any weird additives. Fresh is absolutely worth seeking out over frozen.
- Granulated sugar: Do not reduce the amount. I know it seems like a lot, but sugar is what preserves the fruit and creates that gorgeous glossy texture. The balance hits just right.
- Fresh lemon juice: This does double duty by adding brightness and helping activate the natural pectin in the fruit. Bottled juice simply does not work the same way here.
Tired of Takeout? 🥡
Get 10 meals you can make faster than delivery arrives. Seriously.
One email. No spam. Unsubscribe anytime.
Instructions
- Prep your workspace:
- Pop a small plate in the freezer now so you are ready for the set test later. Trust me, scrambling to find one when your jam is at the perfect stage is not stress you want.
- Start the berries:
- Combine your blackcurrants and lemon juice in a large heavy-bottomed saucepan. Use a potato masher to gently crush about half the berries, releasing their juices and starting to break them down.
- Meet your sugar:
- Pour in the sugar and stir everything together thoroughly. Let this mixture sit for about 10 minutes. The sugar will draw out even more juice from the fruit, which means less cooking time and fresher flavor.
- Bring it together:
- Place the saucepan over medium heat and stir until every single grain of sugar has dissolved. You should not feel any grittiness when you run your spoon along the bottom.
- The rolling boil:
- Crank up the heat to high and bring the mixture to a rapid, enthusiastic boil. Keep stirring frequently—jam catches on the bottom of the pan faster than you would believe possible.
- Watch for the set:
- Boil hard for 10 to 15 minutes, skimming off any foam that rises to the surface. Drop a spoonful onto that frozen plate from earlier, wait one minute, then push it with your finger. If the surface wrinkles, you have achieved jam perfection.
- The resting phase:
- Remove from heat and let the jam sit for 5 minutes, giving it an occasional gentle stir. This prevents all the fruit from floating to the top of your jars.
- Jar it up:
- Ladle the hot jam into sterilized jars, leaving about half a centimeter of space at the top. Seal immediately while everything is still piping hot. Listen for that satisfying pop as the jars cool and seal.
 Save
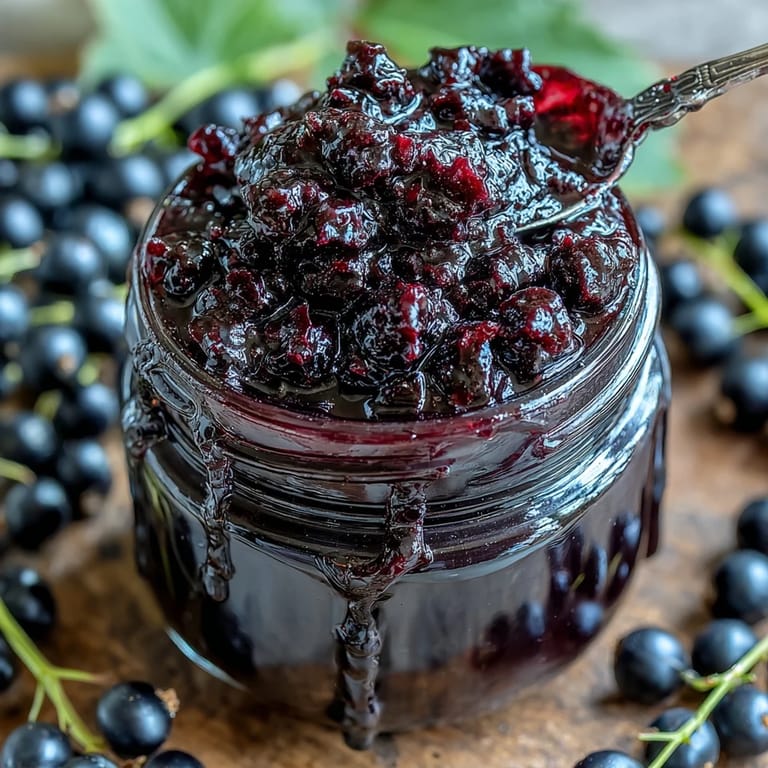
Save My first attempt at jam ended up as blackcurrant syrup because I was too impatient to wait for the set. We poured it over vanilla ice cream and honestly, nobody complained. Sometimes mistakes become family traditions.
Getting The Perfect Consistency
Every batch of jam will set slightly differently depending on the natural pectin levels in your fruit. I have made this recipe dozens of times and some batches set firm while others remain a bit more relaxed. Both are delicious and perfectly acceptable. The key is recognizing when to stop cooking based on the plate test rather than following the time exactly.
Flavor Variations Worth Trying
Once you have mastered the basic recipe, the possibilities become exciting. A split vanilla bean added at the beginning creates this incredible depth. A splash of cassis liqueur in the final minutes of cooking makes it feel positively fancy. My personal favorite is a tiny pinch of cinnamon, which somehow makes the blackcurrant flavor sing even louder.
Storage And Shelf Life
Properly sealed jars will keep in a cool, dark place for up to a year, though they rarely last that long in my house. The color stays vibrant and the flavor remains remarkably stable. Once opened, keep the jar in the refrigerator and use within four weeks.
- Label your jars with the date so you can keep track of freshness
- Always use a clean spoon to scoop out jam to prevent introducing bacteria
- If a jar fails to seal, simply refrigerate it and use it first
 Save
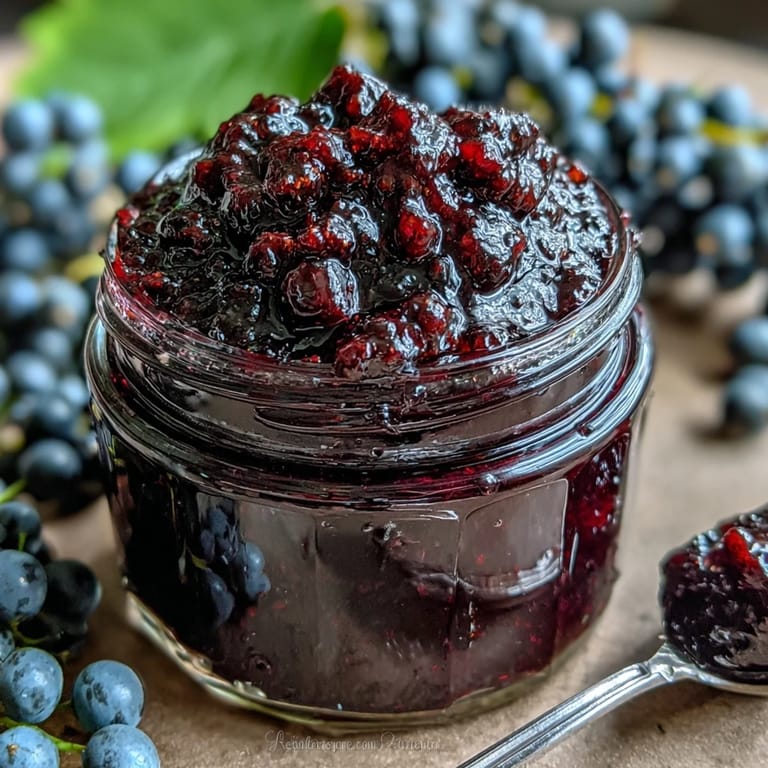
Save There is something profoundly satisfying about opening a jar of homemade jam in the dead of winter and tasting summer again. Make extra, because you will regret it when the last jar is empty.
Recipe FAQs
- → How do I know when the jam is ready?
Test the setting point by placing a small plate in the freezer before cooking. When you think the jam is done, place a drop on the chilled plate, wait 1 minute, then push gently with your finger. If the surface wrinkles, the jam has reached setting point and is ready to jar.
- → Can I use frozen blackcurrants?
Yes, frozen blackcurrants work perfectly well. Thaw them completely before starting and drain any excess liquid. You may need to extend the boiling time by 2-3 minutes to reach the proper consistency.
- → How long will this preserve keep?
Properly sealed and stored in a cool, dark place, unopened jars will keep for up to 12 months. Once opened, refrigerate and consume within 4 weeks for best quality and flavor.
- → Why add lemon juice to blackcurrant jam?
Lemon juice serves two purposes: it balances the sweetness with bright acidity and provides natural pectin that helps the jam set properly. The acid also enhances the deep purple color of the blackcurrants.
- → Can I reduce the amount of sugar?
Sugar is essential for preservation and setting, so reducing it significantly may affect shelf life and texture. For a lower-sugar version, you can use 700g sugar with added commercial pectin, though the preserve will have a shorter fridge life once opened.